


Product Overview
Charcuterie Salumi Vacuum Bags, 300x600m Pack of 6
Charcuterie Banquet Bags feature award winning Danish technology that allows for the safest and easiest way for you to create your own charcuterie, salumi and other small goods at home.
The material of the bag creates a bond with the natural proteins in meat, allowing for moisture release and oxygen exchange, without unpleasant odours.
This unique technology also allows for smoke to permeate the bags while still ensuring the ageing process is free from risk of contamination.
No need to wait for winter! Now you can make your own small goods safely, 365 days a year in your own refrigerator!
These are a truly unique and revolutionary product.
Processing cured meats and salamis in the traditional methods has always been something that for most of us living in Australia, has been impossible due to our climate.
But now you can do it safely in your own refrigerator and take out the potential of the meat picking up germs from the environment by putting your meat or salumi in a Banquet Bag.
The bags form a bonds with the protein in the meat, allowing them to age without the risk of picking up unwanted germs or fungi, while still allowing the meat to ‘breathe’.
The bags are also thin enough to allow you to smoke your charcuterie and add that extra depth of flavour.
Make pancetta, salami, coppa, proscuitto and more…!
* Vacuum Sealer required (or a friendly butcher who’ll seal for you) *
For best results use butchers netting for maximum contact.
How to use Charcuterie Banquet Bags
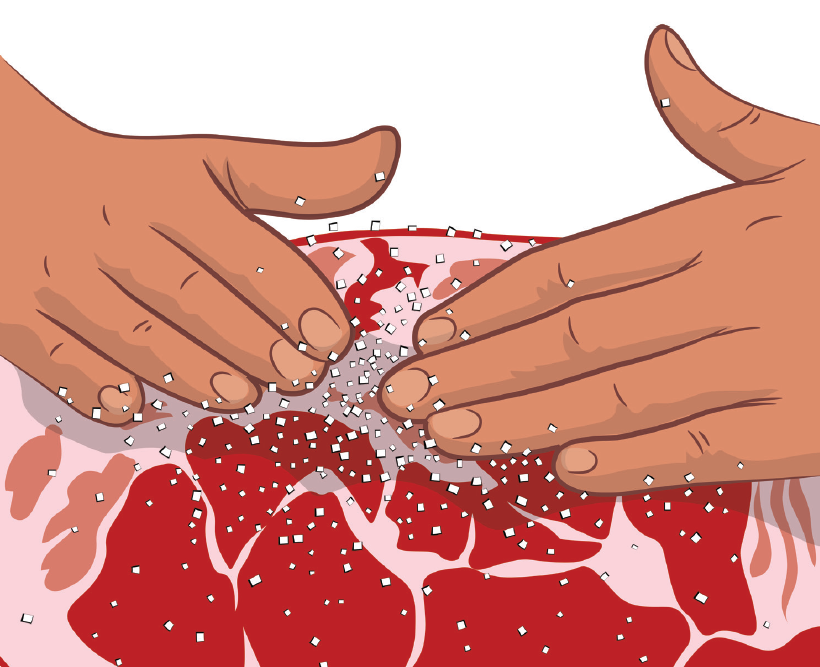
Step 1 – Cure Your Meat
The preparation and curing process for your Salumi will vary greatly depending on what cut you use and the product you are intending to make.
Always follow recipes precisely.
Banquet Bags are designed to speed up the dry ageing stage of making cured meat at home and provide an added layer of protection from external elements.
Once cured, seasoned and ready for ageing – prepare to place your meat in your Banquet Bag.
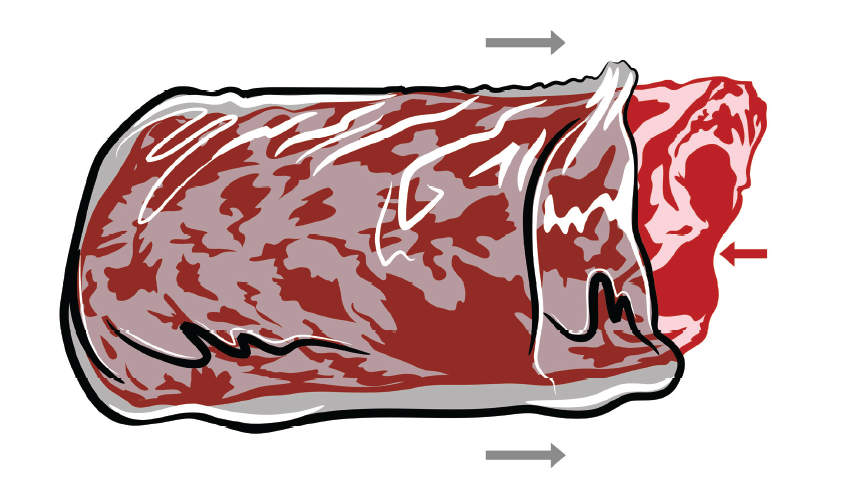
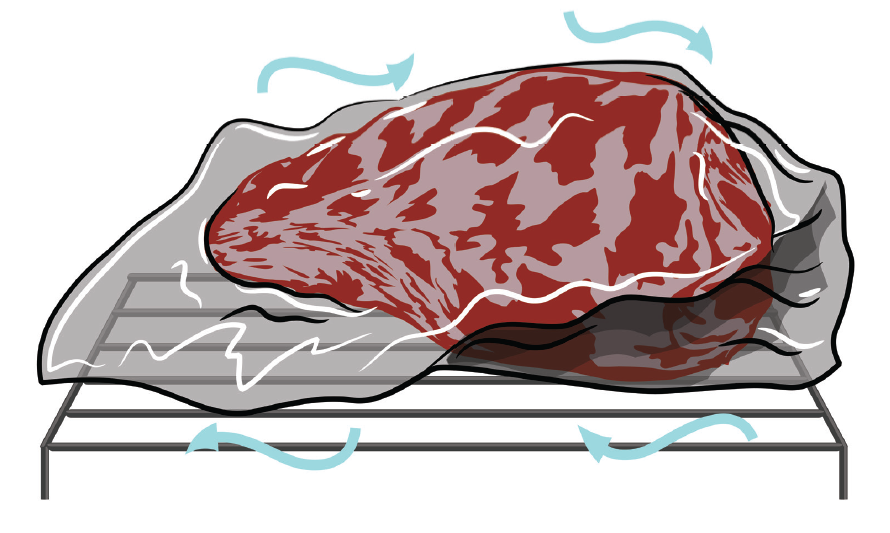
Step 2 – Position Your Meat
Turn the opening of the bag back on itself so you can put the meat inside without touching the opening of the bag.
Place the meat in the Banquet Bag and position the meat so that it is not touching the bottom or the sides of the bag.
Doing this will allow the air to flow out of the bag without creating pockets of air.
There should be at least 12cm of space between the opening of the bag and the meat.
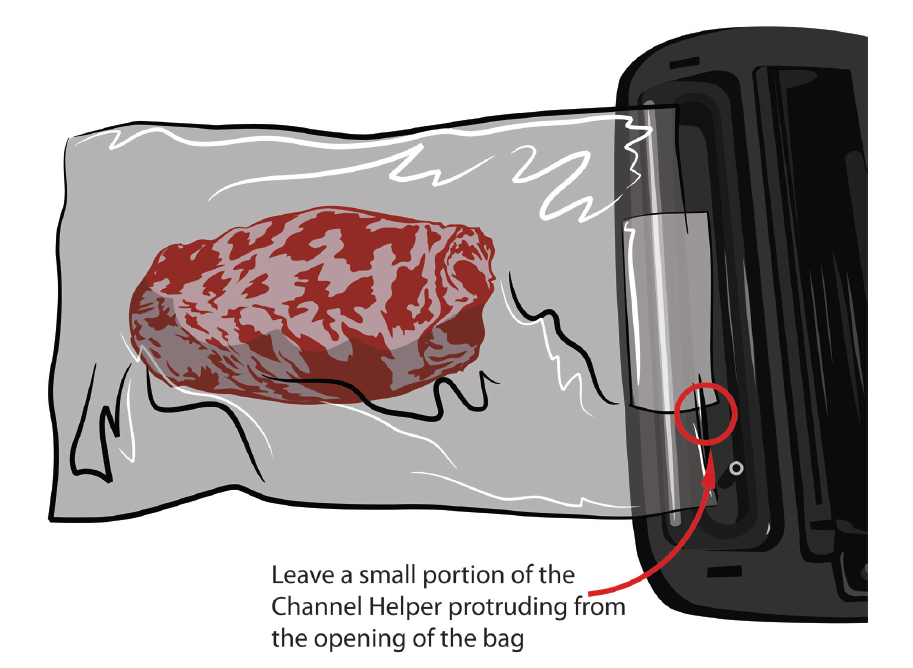
Step 3 – Channel Helper
Cut a portion of Channel Helper about 10cm x 10cm.
Fold vertically on itself to end up with a band-aid like strip.
Insert the Channel Helper into the opening of the Banquet Bag.
It should run in line with the top and stick out of the bag opening.
Position the bag into your vacuum sealer.
Make sure the channel helper is placed over the vacuum.
IM HAVING TROUBLE WITH THE CHANNEL HELPER
try using a strip of a food saver bag instead to help create the channel
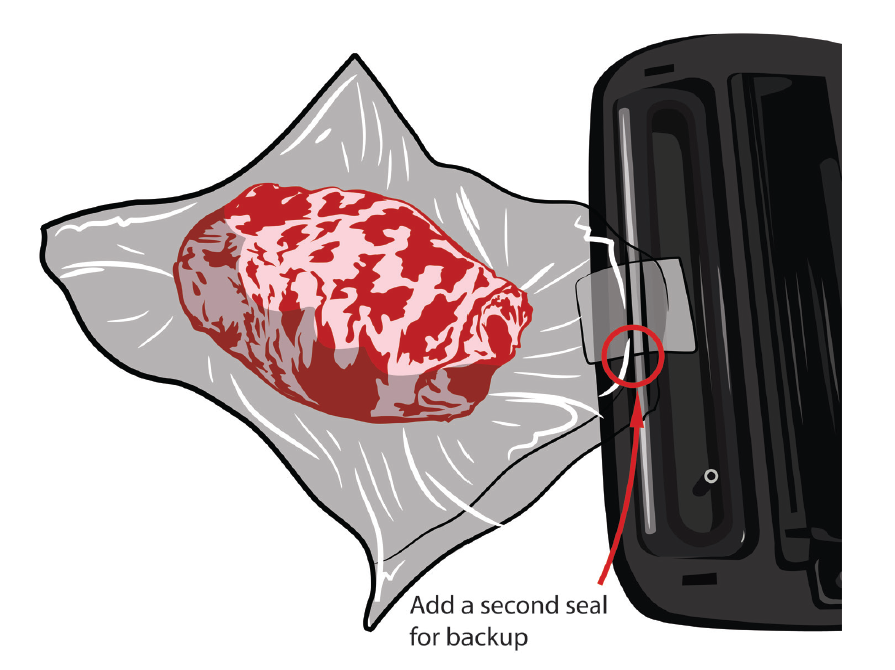
Step 4 – Vacuum Seal
Set your vacuum sealer to gentle / normal / moist (if available) and press start.
If the area around the opening of the bag starts to flatten too early, massage the area around it to let the air flow again to ensure that the air at the bag of the bag around the meat is pulled.
When the bag is tightly on the meat, you can activate the heat seal.
Ideally you want firm contact with the meat.
The bags will be successful with ~70-80% coverage meat to Banquet Bag (i.e. some small air pockets are ok).
Due to their design, Banquet Bags may require you to seal two to three times in the same spot to seal properly – they are different from a regular Cryovac bag.
Once the machine has finished sealing, allow it to cool for at least 10 seconds before slowly lifting the lid.
Add a secondary seal outside the first seal as a failsafe.
Step 5 – Smoke Your Meat (Optional)
The permeable material of Salumi Banquet Bags allows moisture to escape and smoke to enter the bag, giving you the ability to create authentic smoked small goods at home.
Place your sealed Banquet Bags containing your meat into your smoker or smoking chamber and smoke at your desired temperature.
Generally speaking, you’ll probably look to smoke your meat at a low temp for at least 4 hours with your wood species of choice.
Step 6 – Refrigerate
Place your Banquet Bag on a wire rack in the fridge, making sure it is not over-crowded allowing for good ventilation. Most small goods will take 5-7 weeks in the fridge to age properly.
The meat will be ready once it has lost 35-40% of its starting weight through the ageing process.
Check your bag after a couple of days.
If you notice that the bag has come significantly loose in the first few days, the bond has been lost and you will need to repeat step 2, 3 and 4 with a new banquet bag.
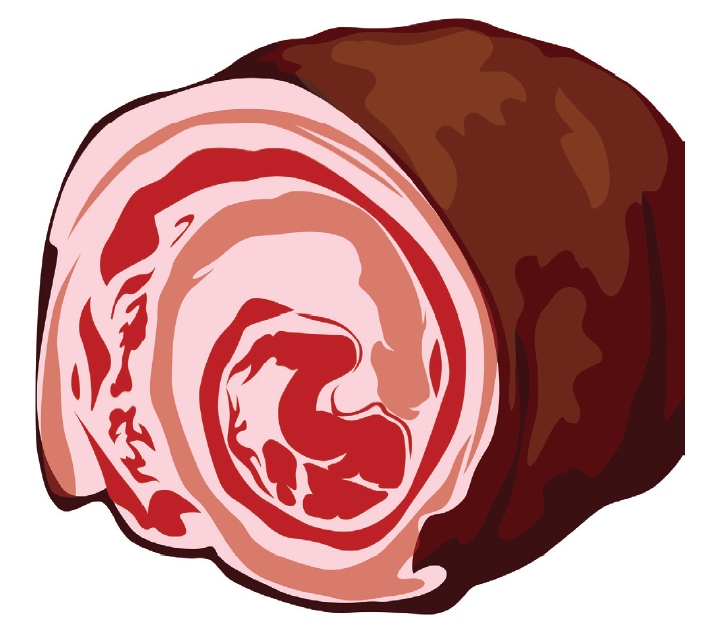
Step 7 – Final Preparation
Once you’ve aged your meat for the designed time period and achieved the necessary weight loss, remove the bag from your meat and you’ll be left with a perfectly aged piece of Salumi.
Cut as desired and enjoy!
Troubleshooting
The bag is too big for my vacuum sealer.
Cut the corners off the top of the bag and seal them to make the opening narrow enough to fit in your vacuum sealer.
Refer to the diagram in Step 4 which shows an example of this method.
How much air should I vacuum for the bag prior to sealing?
You are trying to achieve a very close bond between the bag and the meat.
You do not need to draw the air out to a point that the meat changes shape.
As long as you have a close, tight coverage across at least 80% of the meat, you should be able to easily form a bond with you Banquet Bags and meat.
What vacuum sealers do you recommend?
A channel vacuum sealer that gives you the option to extend sealing time for moist seals and has a slow vacuum option is best.
Nozzle type vacuum sealers are cheap some versions do not have a strong vacuum.
How do I stop blood getting into the sealing area when vacuuming?
Make sure you refer to step 2 and fold the bag back onto itself before placing the meat inside the bag.
Chilling your meat prior to using the vacuum sealer will help to slow the flow of blood as well.
Position your meat as far from the opening as possible and to one side.
We recommend you try to leave at least 12cm between the meat and opening on the bag.
If blood does enter the opening, select a longer sealing time and make a secondary seal as a failsafe.
You may need to do multiple seals in the same place.


